


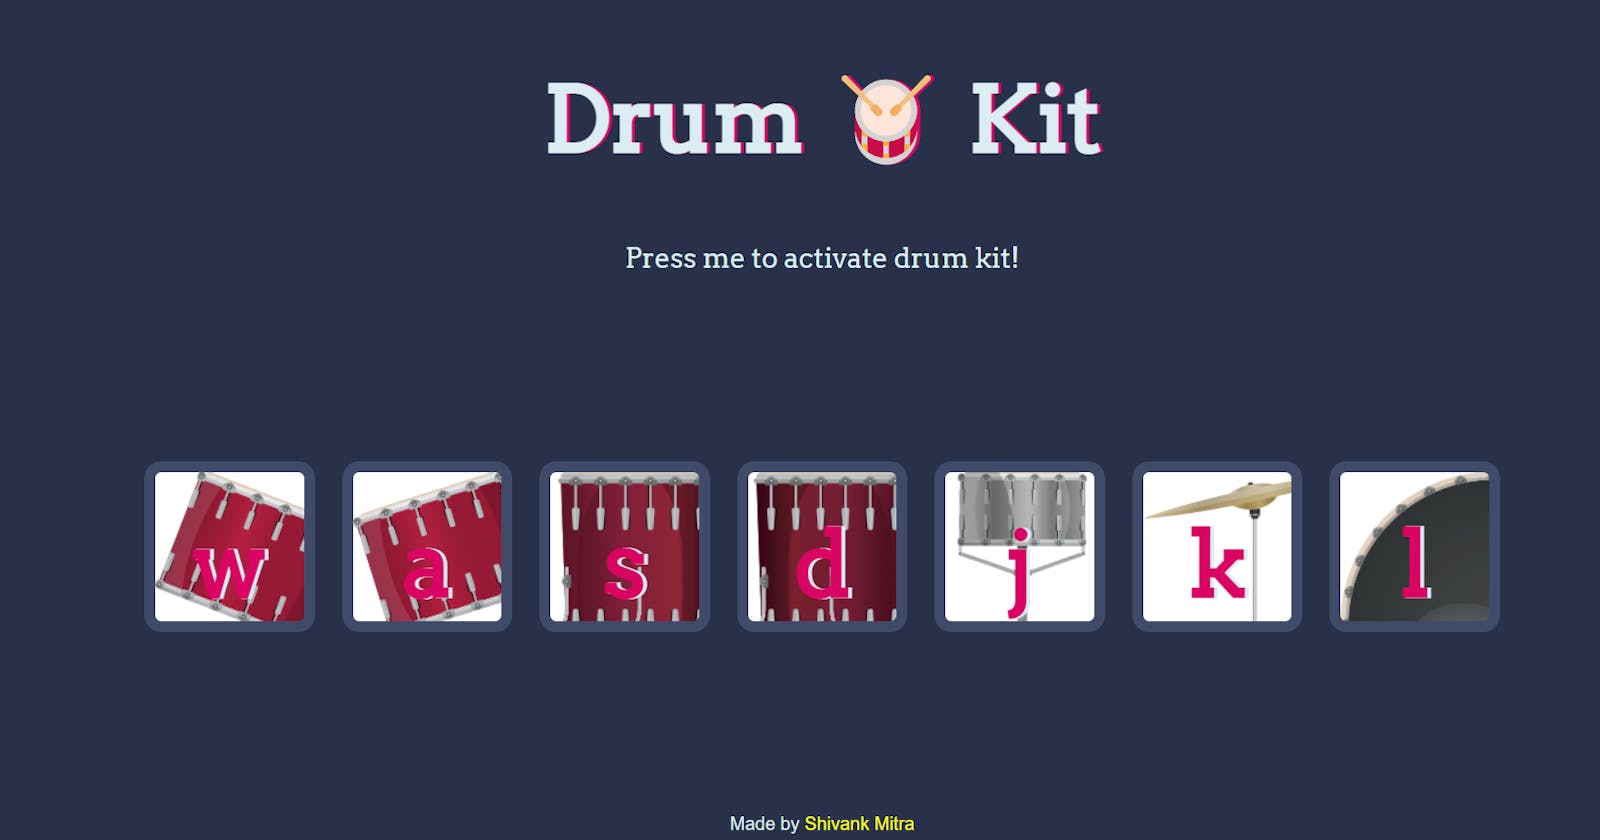
Let's learn to build a drum kit on your browser using JavaScript. However, the drums won't be pressed, but typed! Yes, we'll be simply pressing keys on the keyboard and the drum will play!
Please note: you must know JavaScript basics before beginning this project. You can learn JavaScript on FreeCodeCamp, which I HIGHLY recommend for beginners. They go through JavaScript concepts in-depth and require you to solve hard problems to get their certification.
Before we begin, do the following 👇
Go over to my drum kit repository on GitHub
Create a folder on your computer and name it javascript-drum-kit and do the following in it
Make a file called index.html
Make another file called styles.css
Create a folder called images
Create another folder called sounds
Copy the contents from my index.html file and styles.css and paste them into your local versions of these files.
Next, download the files from the sounds and images folders and put them in their respective local folders.
If you've done the above, great job!
Note: if you are new to HTML and CSS and/or are not proficient in them, I recommend going through those files. Also, since the main focus of this article is on scripting the drum kit using JavaScript, I haven't guided you through the entire HTML and CSS code.
Setting up script.js
Make a new file called script.js, and put the following code into it.
let buttons = document.querySelectorAll('.drum')
let p = document.querySelector('p')
let keyArr = ['w', 'a', 's', 'd', 'j', 'k', 'l']
let soundArr = ['tom-1', 'tom-2', 'tom-3', 'tom-4', 'snare', 'crash', 'kick-bass']
What is the following code doing?
On the first and second lines, we're querying the document for the .drum class and the p element and saving them in variables called buttons and p.
Next, we're storing a list of the keys that we will want to listen to keydown events from in an array called keyArr. Also, we're storing the names of the sound files for further use in an array called soundArr .
Adding the event listeners
This is the most exciting part of this project!
If you are not aware of what event listeners in JavaScript are, I highly recommend going through this MDN article. It will teach you the basics of event listeners.
Enabling the user to activate the drum kit
Add the following code to your script.js file.
p.addEventListener('click', (e)=>{
    if (p.classList[0] == 'unactive') {
        p.textContent = 'Press me to deactivate drum kit!'
    } else {
        p.textContent = 'Press me to activate drum kit!'
    }
    p.classList.toggle('unactive')
    p.classList.toggle('active')
})
Essentially, we're adding an event listener to the p variable that we made earlier for accessing the p element on the page. We add an event listener to p using the addEventListener() function. For further information on this function, check out this short and sweet guide from W3Schools.
We're adding an event listener to listen to clicks from the user. If the p element already has a class called unactive, then we change the text to entice the user into pressing the button and vice-versa. Then we use the toggle() function that adds or removes a class of an element depending on whether or not it is already there.
Adding the keydown event listener to our program
Add the following code just after where we left off.
document.addEventListener('keydown', (e)=>{
    if (keyArr.includes(e.key.toLowerCase())) {
        if (p.classList[0] == 'active') {
            let indexOfKey = keyArr.indexOf(e.key.toLowerCase())
            playMusic(indexOfKey)
            animate(keyArr[indexOfKey])
        } else {
            alert('Activate Drum Kit first!')
        }
    }
})
The following code listens to keydown events. It checks if keyArr contains that particular key that got pressed. Following that, if the program is in the active state (check the last section), we store the index of the key that is pressed using the indexOf() function. Then, we execute the playMusic() and animate() functions. However, we haven't made these functions yet. Let's make them now!
Playing the music
Add the following code to script.js:
function playMusic(index) {
    let audio = new Audio('sounds/'+soundArr[index]+'.mp3')
    audio.play()
}
What's going on here?
We're creating a new Audio object. We're initializing it with our sound file. We are getting the name of the sound file from the soundArr array, by accessing the index we obtained in our event listener.
Next, we simply play the audio using the .play() function.
Adding some animation ✨
Add this function at the bottom of your code file:
function animate(char) {
    let btn = document.querySelector('.'+char)
    btn.classList.add('pressed')

    setTimeout(()=>{
        btn.classList.remove('pressed')
    }, 100)
}
We're simply accessing the button which has the same class as the character which got pressed on the keyboard. Next, we add the pressed class to it. This class contains different styles. Check styles.css for these extra styles. We are using the setTimeout() function to remove the class after an interval of 100 milliseconds or 0.1 seconds, which I have found to be the most ideal for this animation.
Voila! Run the code to make sure it is working.
Here is the finished code:
let buttons = document.querySelectorAll('.drum')
let p = document.querySelector('p')
let keyArr = ['w', 'a', 's', 'd', 'j', 'k', 'l']
let soundArr = ['tom-1', 'tom-2', 'tom-3', 'tom-4', 'snare', 'crash', 'kick-bass']

p.addEventListener('click', (e)=>{
    if (p.classList[0] == 'unactive') {
        p.textContent = 'Press me to deactivate drum kit!'
    } else {
        p.textContent = 'Press me to activate drum kit!'
    }
    p.classList.toggle('unactive')
    p.classList.toggle('active')
})

document.addEventListener('keydown', (e)=>{
    if (keyArr.includes(e.key.toLowerCase())) {
        if (p.classList[0] == 'active') {
            let indexOfKey = keyArr.indexOf(e.key.toLowerCase())
            playMusic(indexOfKey)
            animate(keyArr[indexOfKey])
        } else {
            alert('Activate Drum Kit first!')
        }
    }
})

function playMusic(index) {
    let audio = new Audio('sounds/'+soundArr[index]+'.mp3')
    audio.play()
}

function animate(char) {
    let btn = document.querySelector('.'+char)
    btn.classList.add('pressed')

    setTimeout(()=>{
        btn.classList.remove('pressed')
    }, 100)
}
If you want to check the source code from my GitHub repository itself, use this link.
If you want to learn how to write clean and concise JavaScript code to impress your future self and your team members, check out my short and sweet article on this topic.
Thanks for reading!